Setting Up Groups In ClientLook
“Groups” in ClientLook commercial real estate CRM software allow you to create lists and organize your records. Each module in ClientLook – contacts, companies, deals, properties and listings – can have its own set of groups.
Examples of Groups
There are lots of ways to use groups. They’re flexible and allow you to segment your data into smaller lists very easily. Here are some examples.
- Contacts: Broker mailing list, hot prospects, holiday card list, top 20 clients, CCIM members, office tenants
- Companies: Technology firms, light industrial users, previous clients, vendors, growing companies
- Deals: 3rd quarter closings, property management assignments, closed pipeline deals
- Properties: Industrial over 50,000 SF, under management, Smith Company properties, target buildings
You can create groups for anything you can dream up. Groups allow you to very quickly pull up a subset of your data, and keep everyone (and everything) better organized.
How To Create A Group
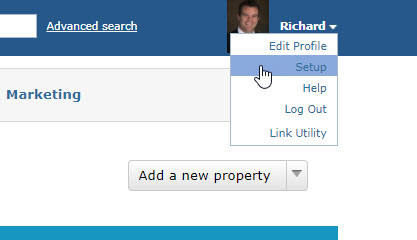
To create a group, simply click on your name in the upper right corner of ClientLook and select “Setup”.
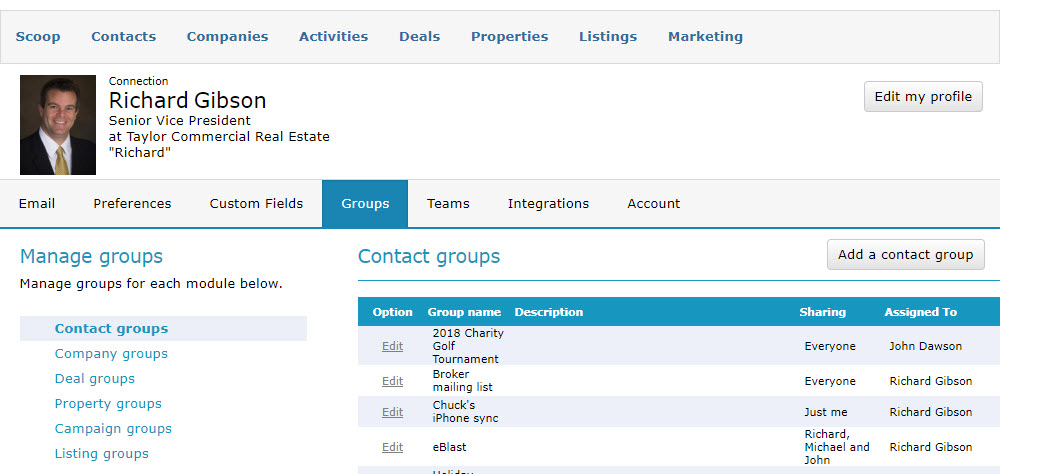
You’ll find a tab labeled “Groups”. Here you can create, edit and delete groups for all the different modules.
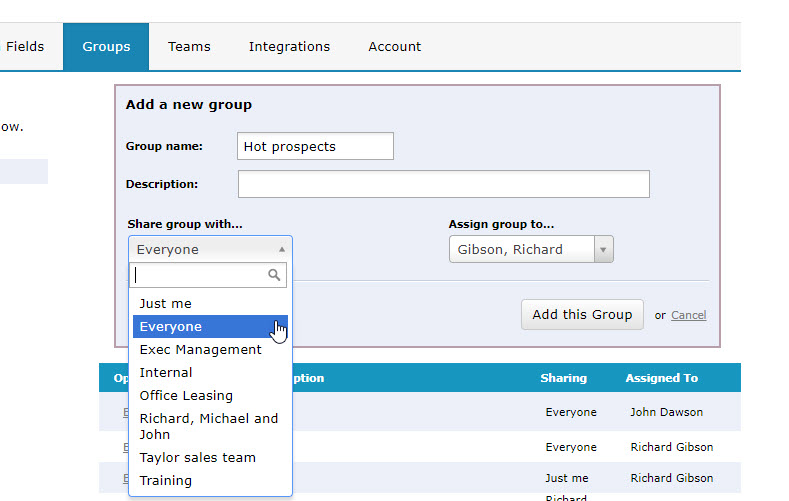
Groups can be shared across your account, limited to just a team or even kept private to you. When creating a group just change the “Sharing” level to whatever you’d like. This is the same consistent sharing feature you’ll find throughout ClientLook.
Adding Records To A Group
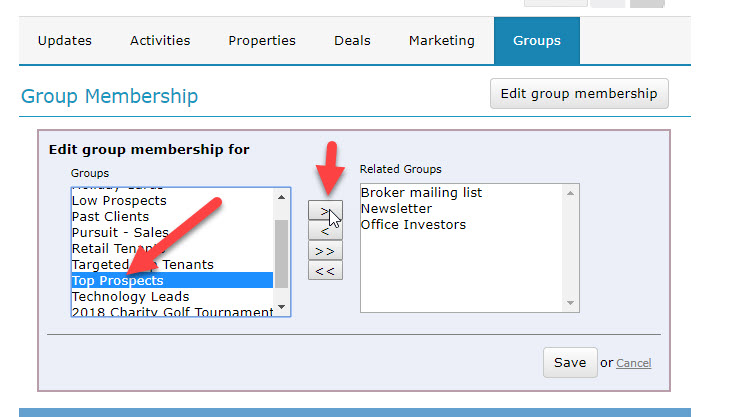
To add a record, whether it’s a contact, company, deal, listing or property to a group, simply pull up the record you want to add (for example, click on a contact’s name to open that contact record) and go to the “Groups” tab on that record. This tab displays all groups that record is a member of and allows you to add or remove the groups related to this record. The list on the left shows all available groups; the list on the right shows those groups this record is a member of. Simply choose items from the left and use the arrow button to shuffle those groups to the right to add them. Click “Save” to save your changes.
Working With Groups
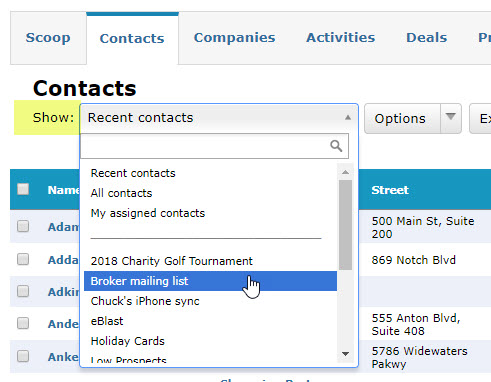
Once you have added records to a group, from the list view within any module you can pull up all group members by selecting the group name from the “Show” menu.
“Slicing and dicing” your data in ClientLook CRM to pull up exactly the records you are looking for is really simple. Between the groups functionality and the advanced searching capabilities, you can zoom in on exactly what you need really quickly.
Keep track of all of your listings, deals, properties, and contacts with the only all-in-one CRM built specifically for the commercial real estate industry.
Next Tutorial »Related posts