Comprehensive mapping software, analysis and management for industries including real estate and government sectors….
Learn moreLightBox ClientLook®
The all-in-one CRM platform built to optimize and automate processes for commercial real estate (CRE) professionals
Looking for a streamlined CRM platform? ClientLook was built from the ground-up to suit your needs. Manage contacts, track properties, manage deals, schedule tasks and more with ease. It’s a commercial real estate CRM software solution that works for you and your CRE business. For more information: call 888-552-5665 For sales: sales@clientlook.com For support: support@clientlook.com
Request A Demo Login Free Trial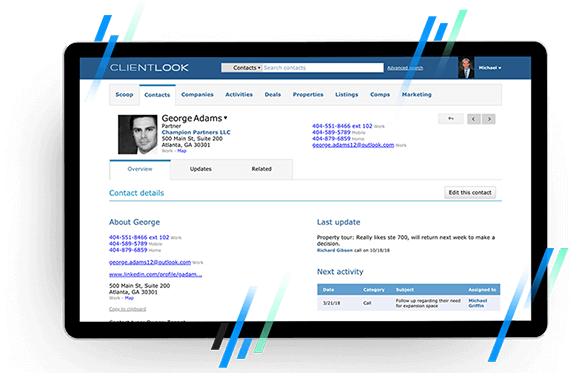
Why choose ClientLook®
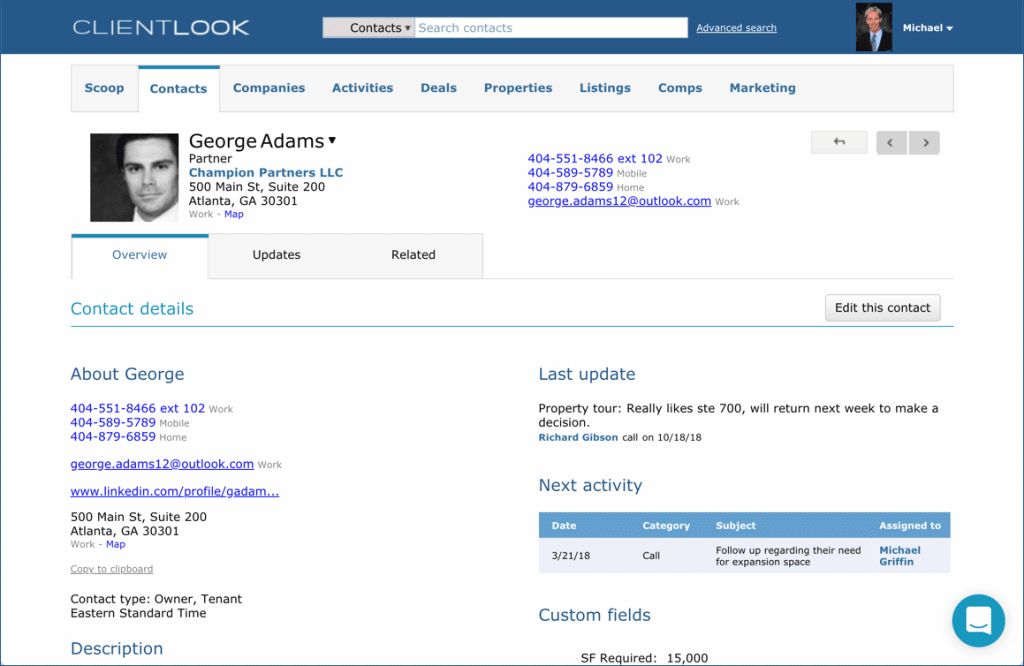
Build relationships through intuitive contact management
Using a CRM is fundamental for any CRE sales professional. It helps you organize and manage your contacts more efficiently in order to build better relationships faster.
Combine your own proprietary intelligence with integrated property data
Import properties nationwide from LightBox to enable real-time updates on ownership changes, sales, financial history, demographics and more. Add your own proprietary data to create the most complete market tracking tool.
Utilize deal tracking and manage your pipeline all in one place
There’s no easier way to track listings, requirements and more. Log all your activities (tours, calls, emails etc.), store documents and forecast your pipeline using collaborate deal rooms.
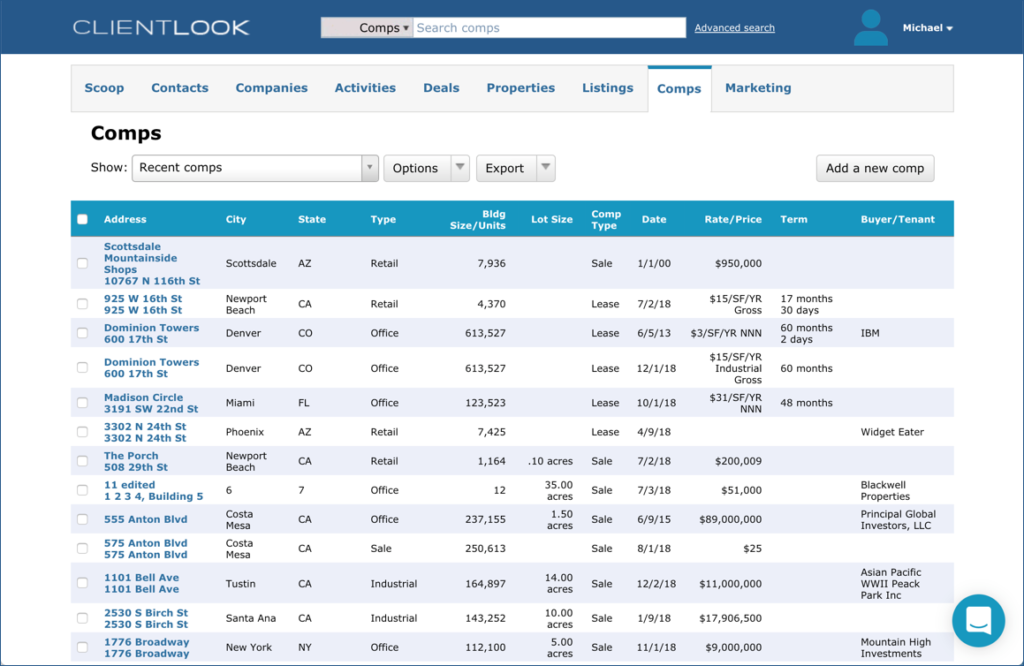
Track sale and lease comps
Differentiate your level of service by effortlessly tracking details of every CRE sale and lease completely with deal terms, and related sellers, buyers, tenants, landlords and more.
Go mobile
Rely on ClientLook’s highly-rated mobile app to take your entire CRE business on the road. Access natively on any device and operating system as well as through our innovative iPhone and Android apps.
Leverage and outsource CRM support
Engage our Back-Office Assistant team to help you get more done. They can help you with data entry, online lead capture, and even listing administration. Free to all ClientLook subscribers.
Contact management
Effortless CRM software
- ClientLook® is the easiest CRM solution in the industry. In fact, it’s virtually training-free.
- Our top-rated customer service and the easiest on-boarding process mean you could be using ClientLook® in just minutes.
- You get unlimited support, customization and personalized training.
Integrated property data & listings
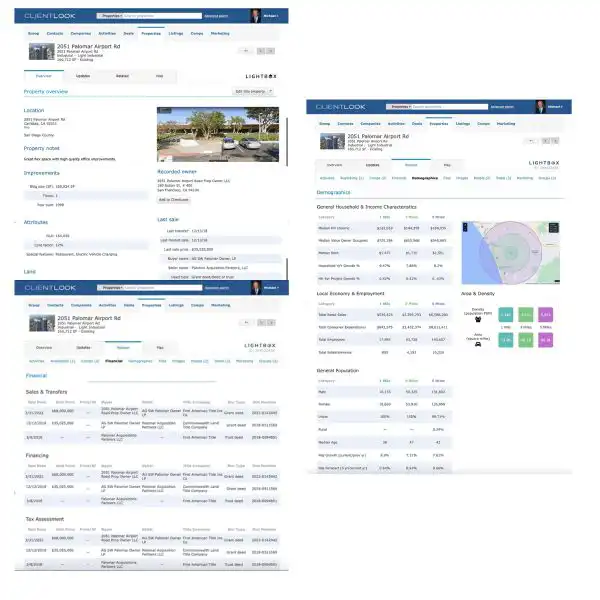
Import and input every property detail to build out your own proprietary CRE database.
- Build your own property database by importing from the LightBox data service with over 155 million records nationwide
- Receive on-going, real-time updates to changes in ownership, sales, financing and more
- Create custom property fields and use intuitive searching to find what you need
- Relate properties to people, deals, documents and more in one place
Track sale & lease comps
Finally! An easy way to track all the deals that occur in your market.
- Add sale and lease comps to existing property records.
- Convert listings into comps once the deal closes.
- Share comp reports with your clients.
New Deal, Activity & Pipeline Tracking
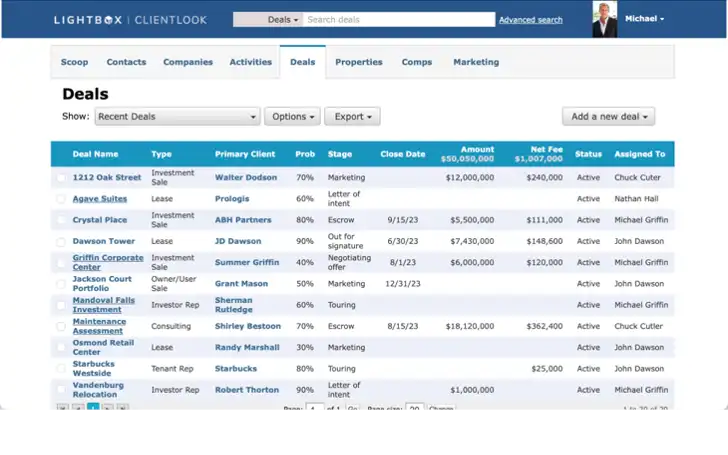
Monitor every stage of your transactions and track any type of deal all in one place including your pipeline and all deal-related activities.
- Track listings, requirements and more.
- View a consolidated pipeline spanning all deal types.
- Collaborate in real-time with clients and team members.
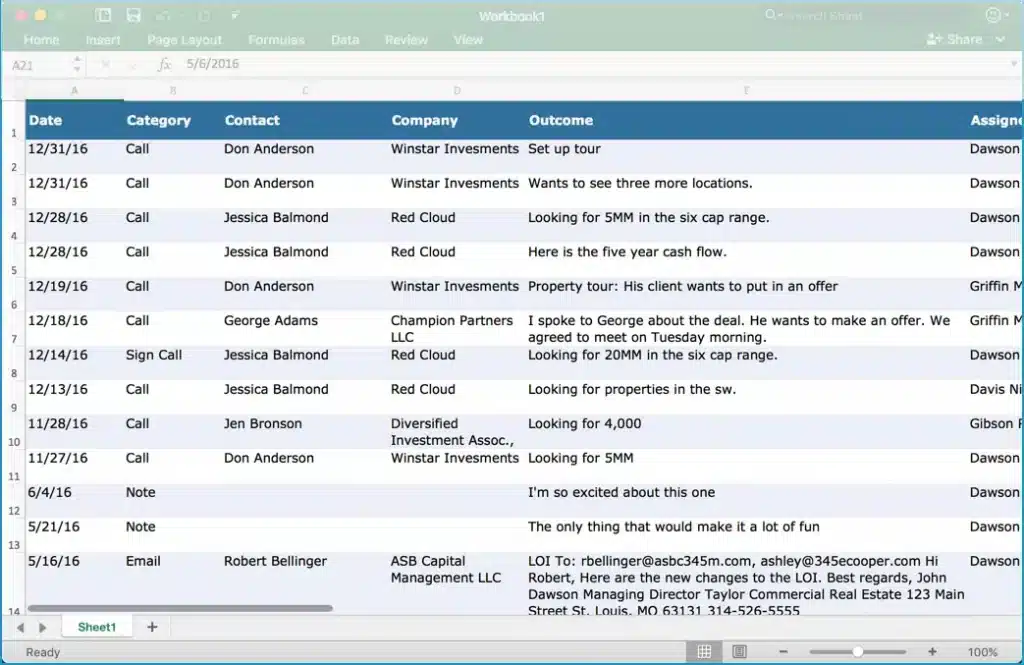
- Leverage your virtual deal room to:
- Organize updates, calls, activities, files and emails.
- Integrate both incoming/outgoing emails and attachments.
- Store deal-related files.
Integrated & customized reporting
Win more assignments by offering a whole new level of service.
- Showcase your expertise with presentation-quality reporting.
- Use ClientLook to send clients a traditional market report or go high-tech with the fully integrated collaborative war room feature. You’ll offer something for everyone.
Mobile App
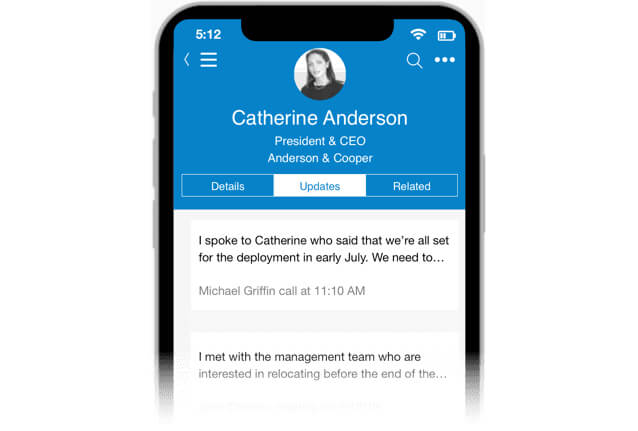
Go mobile to get more done – anywhere
- Rely on ClientLook’s highly rated mobile apps to take your entire CRE business on the road.
- Access natively by downloading our innovative iPhone and Android apps. Also works seamlessly on the built-in browser of any phone or tablet.
- Provide better service with instant access to contacts, properties, deals and more. Send emails that automatically connect to records. Auto-dial contact and record call outcomes.

Leverage & outsource CRM support
Engage our Back-Office Assistant Team
ClientLook is the only commercial real estate CRM software that includes a Back-Office Assistant team that is standing by to handle your requests. Free to all ClientLook subscribers.
They help with data entry, online lead capture, appointment scheduling and even listing administration – so you don’t have to.
If you’re not using ClientLook, then you’re working too hard.
For sales: sales@clientlook.com
For support: support@clientlook.com
Success audit

Have you had a recent Success Audit?
A Success Audit is a 15-minute interview conducted by our commercial real estate software experts here at ClientLook. We call them the Success Team and they are dedicated to helping our subscribers get the most out of our CRM.
Success Audit Request
To request audit: success@clientlook.com
Resources
Video library
Access over 150+ videos on your own time to access training, how-to tutorials and webinars.
What’s included
Build relationships
Created to help you build better relationships as easily as possible.
Updates & activities
Do more every day with simplified task and event management.
Custom fields
Add custom fields to ensure no piece of data goes missing.
Your own proprietary database
Import or add properties with real-time updates and changes.
Manage listings
The easiest way to manage and market every listing you have.
Track comps
The most convenient place to store completed lease and sale deals.
Manage deal activity
Effortlessly track every type of deal and its activities all in one place.
Real-Time Collaboration
Integrate all emails and attachments to share deal activity and documents.
Pipeline tracking
View consolidated pipeline and monitor deals by broker, stage, value, etc.
Access anywhere
Access ClientLook® through any mobile browser without the need for an app.
Download app
Use native iOS and Android apps for a richer mobile experience.
Mobile sync
Sync calendar and send contacts to your mobile device to stay in touch.
Remote data entry
Rely on our team to enter business cards, schedule activities and more.
Listing administration
Update listings and publish online with a phone call to our team.
Online lead capture
Direct leads from your website to be entered automatically.
Pricing
$1,068
Annual Plan
Pay upfront.
Save big.
per user per year
(effectively $89/month)
$129
Monthly Plan
Pay as you go.
Most flexible plan.
per user per month
(month-to-month term)
convert to annual anytime
$0
4 Months Free
New broker plan.
Less than 6 months in CRE.
per user for 4 months
(then $99 per month thereafter)
verification required
Client Reviews
“I have seen a direct correlation with the guys in my office who make a lot of money and use ClientLook®. The guys who are using ClientLook consistently are the ones who are making more money and are having more success in this business.”
![]()
Stirling Properties
“If you want a commercial real estate CRM software that is ready to use today, use ClientLook®. You don’t have to do an elaborate build out or have any special training; you can be up and running quickly.”
![]()
CBRE
“ClientLook® has helped me organize my contacts and streamline my business. I am much more efficient this year, and I attribute that to using ClientLook. ClientLook gave me a foundation for my business, and it’s the backbone of everything I do.”
![]()
Lee & Associates
“ClientLook® is backed by some of the best people in the industry and was created specifically for commercial real estate professionals. If this is your industry, choosing ClientLook is a must.”
![]()
NAI Capital
Recommended Insights
Brokers

Q&A with PRISM Advisory Board Member Patrick Jacolenne
An Insider’s Look at the Evolving Landscape of Real Estate Data Interview with: PRISM Advisory Board Member, Patrick Jacolenne, Founder…
Brokers

LightBox CRE Monthly Commentary: CRE Pros Try to Answer the $64,000 Question – When Will CRE Relaunch?
Manus Clancy is head of data strategy at LightBox The question on every CRE professional’s mind as we reach the…
Appraisers

Q1 Preliminary Results Show Signs of Gradual Thaw
As the end of the first quarter nears, commercial real estate professionals are watching for signs of a market in…
Have questions? Want a demo? Let’s chat.
Fill out the form below and a member of our Sales Team will contact you shortly.